

As our family has gotten bigger so has our need for more storage space–food in particular. Our house has a tiny pantry, about 1×2 space with an 11 inch opening. It was really hard to store things in it and get them in and out.
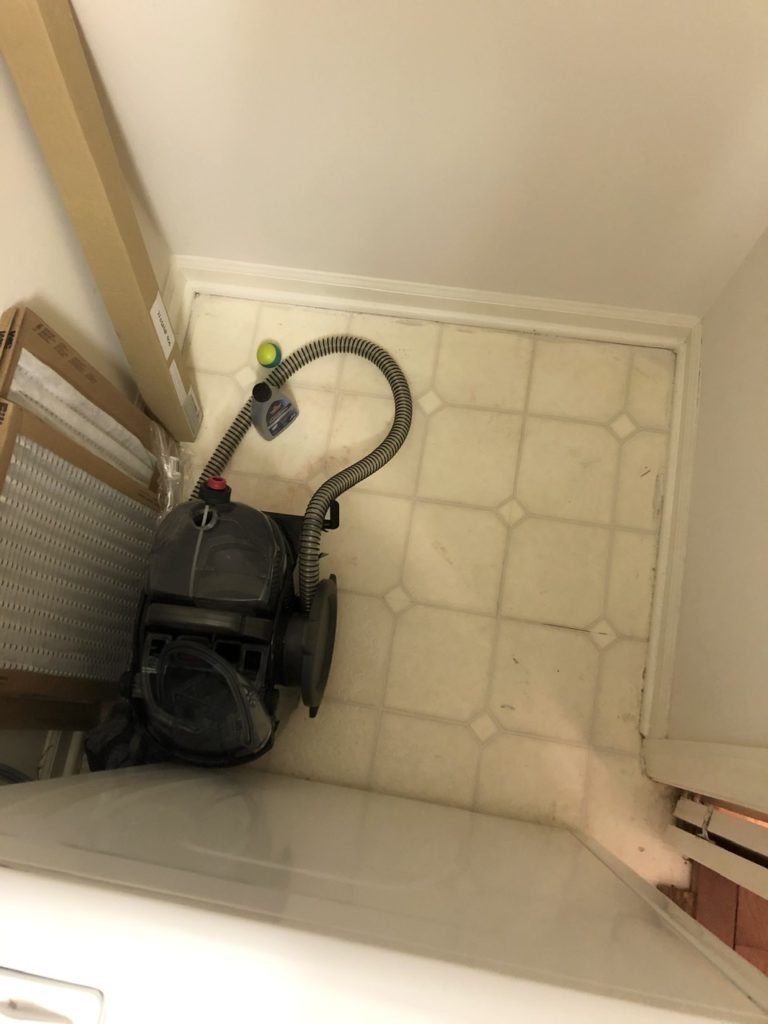
Our laundry closet was set up with the washer and dryer side by side. Next to the dryer was a 3×3 space that was so hard to access. We really wanted to utilize the space better.
Almost a year ago we purchased a front loading washing machine with the plans to eventually get the stacking dryer and turn the right side of the laundry closet into a pantry!
Original Laundry Closet


This is how we updated our laundry closet to a laundry and pantry closet!
Supplies Needed for Pantry Shelving:
1×2 Pine Boards
Screws in two sizes (support, top of bracket)
Measuring Tape
Drill
Saw
Shelves
Brackets
Steps
First, removed the wire shelving, scraped the popcorn ceiling and patched all the holes. We then put a fresh coat of paint over the walls and ceiling. We used Behr Silver Drop which is what we had for the rest of the house.


Next (probably I over a month later), we received our dryer so we could begin turning the other side into a large pantry!

We purchased the GE Fresh Vent washer and dryer. We got the washer scratch and dent from American Freight, and we purchased the dryer brand new from Costco.
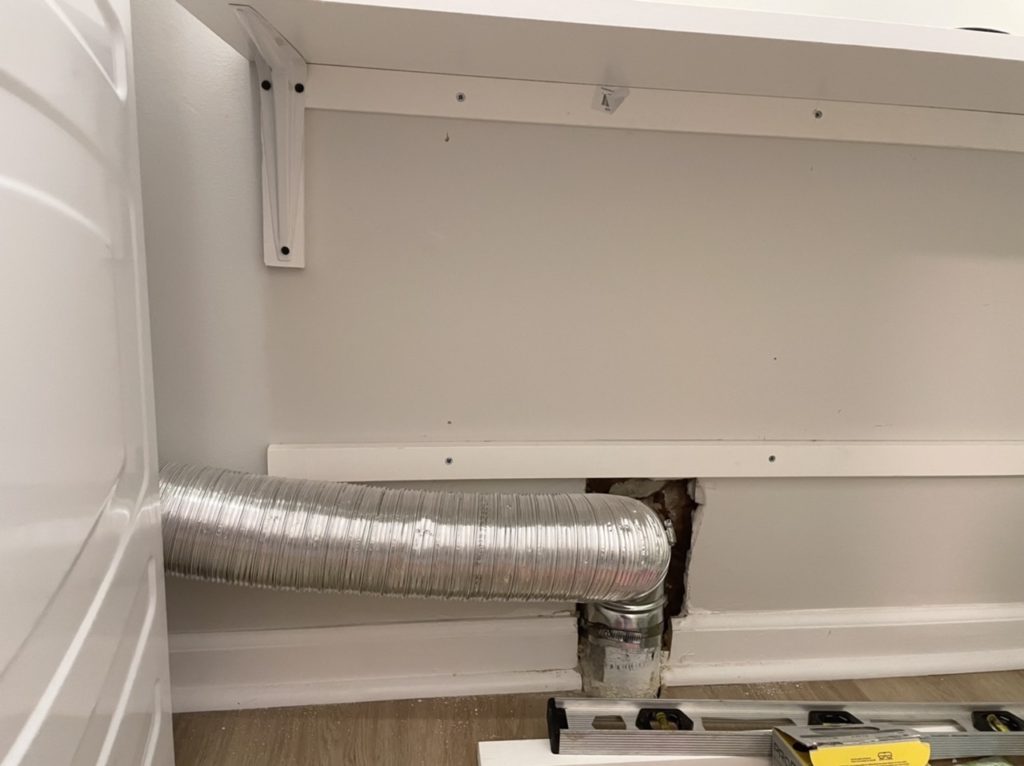
The first step to making our pantry shelving was measuring. We had to accommodate for the dryer vent and plug so we had to be sure to measure correctly around them. I drew out my ideas on paper with measurements. Make sure you include the thickness of your shelf in your measurements.
I measured some of the items in my pantry to make sure they would fit properly on the shelves.
We chose to do a spacing of about 12”, 15”,15” and 10” between each of the shelves. And the shelves are 56.5×37 in an “L” shape.
Then, we marked lines on the walls where each support would go.
We wanted it to be practical and as cost effective as we could. Also, I was sick of painting so we opted for pre-finished shelves.
Shelving Support
First, we used the stud finder and marked where each stud was. We used 1×2 primed pine boards for part of the shelf support. We cut the pine boards to 56” so 1/2” less than the actual shelf.
Each spot was pre-drilled for the screw with a 7/64” drill bit. Then we used these wood screws and put one nail in each spot that the board hit a stud. Pay careful attention you don’t screw in too much or hard as the pine is soft and you may strip the screw.

We used brackets that were 6×9.5 for our 11.75” depth shelves. Using the 1×2, we cut 6 1/4” long supports for the brackets to attach to as seen here below.
We did this all the way around the “L” shape.

We attached the boards from the bottom up through the bracket with 1/2 inch screws. And that was it!


